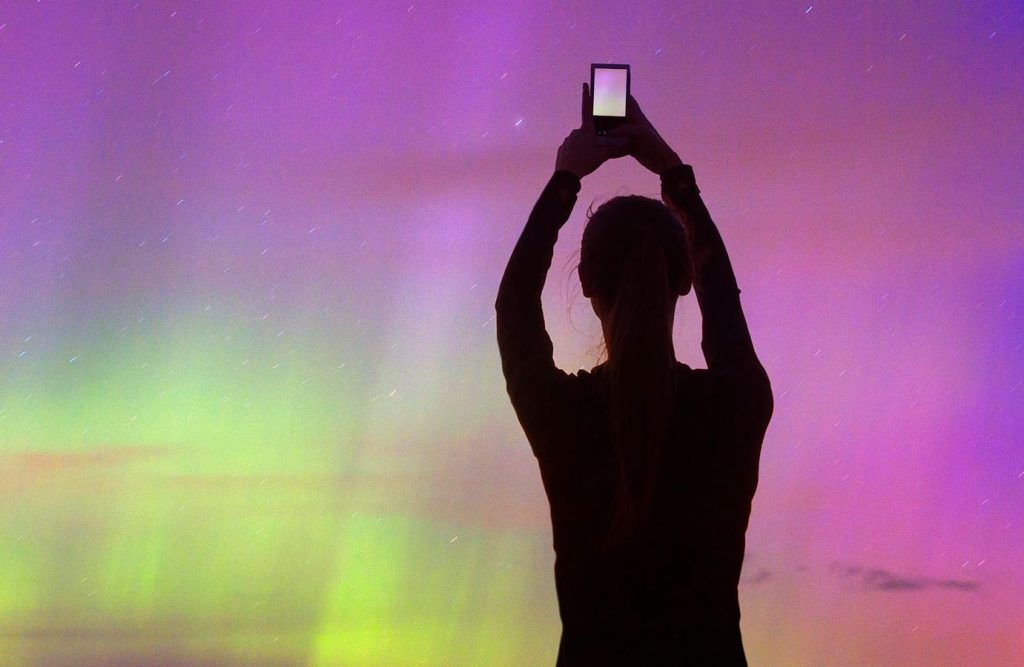
A sudden “solar superstorm” has seen vivid displays of aurora in both the northern and southern hemispheres this weekend—and many of the best images have been taken by nothing more than a smartphone.
Colorful displays of green, red and even blue patterns dancing overhead places including Florida, the Bahamas and Mexico, all far beyond the regular reach of the auroral oval, which typically hangs around the Arctic and Antarctic Circles.
With more displays likely incoming across the globe, it’s important to understand that using a camera is a great way of observing the phenomenon. That’s because aurora can be faint and/or affected by light pollution. Taking a long-exposure photo—even if only for a few seconds—is a great way of seeing reds and greens in the sky even when your eyes cannot.
Here’s how to photograph the northern lights with both a smartphone and a DSLR/mirrorless camera.
Photographing The Northern Lights: Smartphone
Not all smartphones are created equal. If your smartphone has a “Night Mode” feature, that should be good enough to get a more than impressive souvenir shot of the aurora. It likely means a long exposure of between five and 10 seconds, which will look much better if you do three things:
- Use your primary lens, NOT the super-wide lens (which is inferior).
- Use a basic smartphone holder and a small tripod to prevent any camera shake, keeping your images sharp.
- Shoot in raw, making it easier to improve your photos using simple edits.
Photographing The Northern Lights: DSLR/Mirrorless Camera
If you have a DSLR or mirrorless camera, you can manipulate the ISO, aperture and shutter speed to capture the aurora with more control and quality.
- Use a tripod to prevent camera shake and bost detail.
- Shoot in RAW to make post-processing easier.
- Use a wide-angle lens (14mm is a good choice)
- In manual mode, set the lens to focus on infinity.
- Use a low f-number (f/2.8 or f/4) to allow lots of light into your camera.
- Use an ISO of between 100 and 800, depending on how dark your location is.
- Experiment with different shutter speeds from three to 15 seconds.
Careful With Color
Whatever device you use to capture the aurora, don’t be tempted to oversaturate color during editing. Sure, you’re proud of the reds and greens you captured, but oversaturating them can easily make them look fake and awkward.
Wishing you clear skies and wide eyes.
Read the full article here
